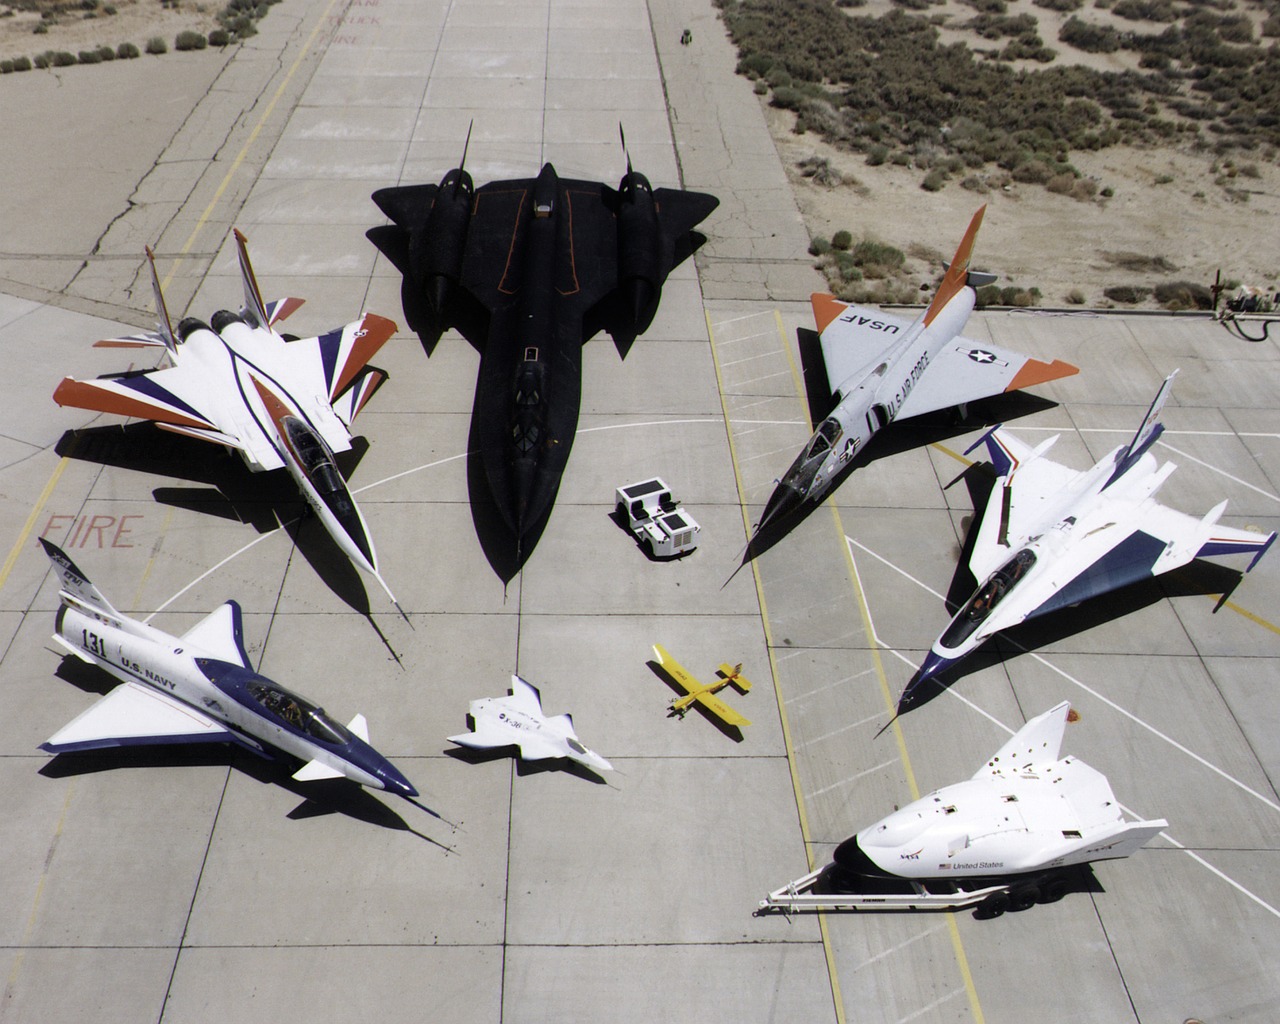
The plane in control is a magnificent “toy”, with which you can soar peacefully in the sky, actively spend your leisure time in nature, to show incredible acrobatic tricks, to perform at competitions. It is a hobby that excites and inspires. It is not surprising that many modelers are wondering how to assemble a radio-controlled aircraft.
We can offer three solutions to this problem:
- Buying an ARF aircraft is almost a ready-made model, for the operation of which there is a lack of some accessories and details.
- KIT model – a set of blanks, parts, electronics components that need to be assembled into a ready-made model yourself.
- Take inspiration from the program “Dummy Pens”, stock up on “Young Technician” magazines and do everything yourself.
A few words about modern materials for the fuselage
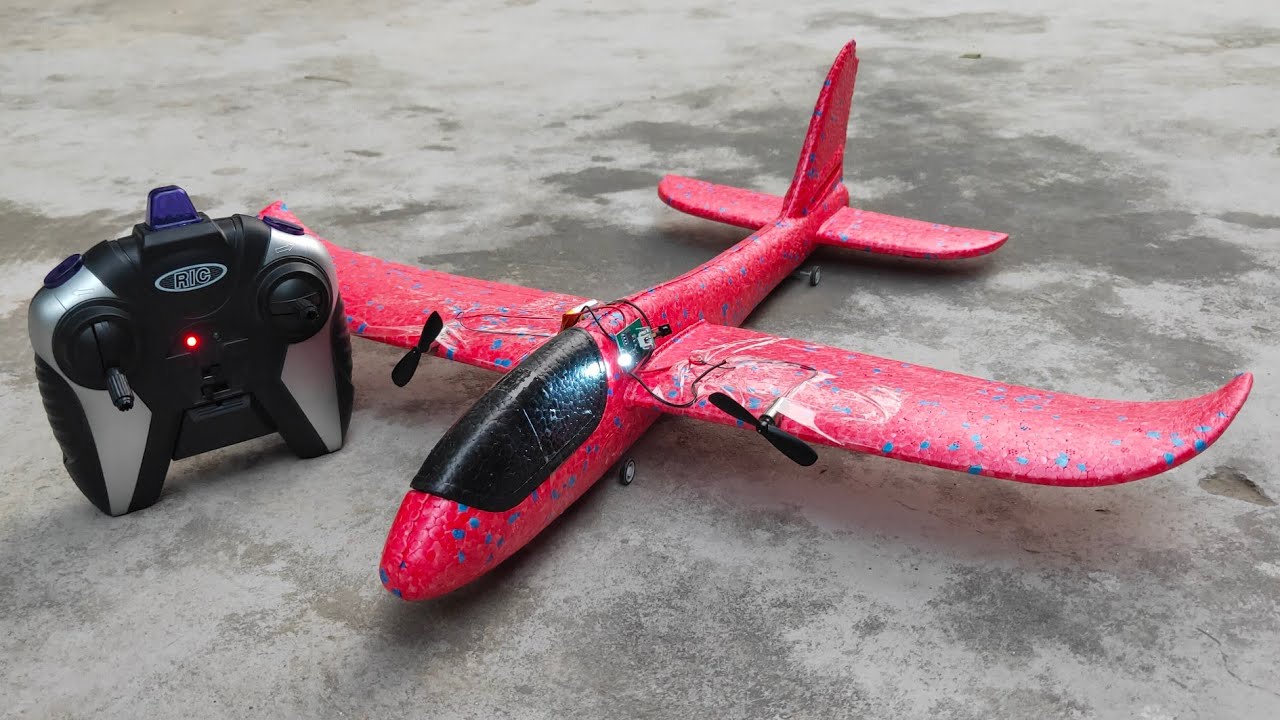
The times when modelers made their models from papier-mache, cardboard and even foam and plastic became history long ago. With the advent of PFG a derivative of foam and rubber, the life of modelers became much easier. From PFG produce fuselages for gliders, training and acrobatic models, even machines with internal combustion engines. The main advantages of this material – it is lightweight, inexpensive and able to withstand crashes to the ground. You can make your own fuselage elements from several curved and polished sheets of material. Do not forget to prepare a niche for the installation of on-board electronics, which will be discussed later.
In the construction of a large model also go wooden and composite elements. They are needed for greater strength and reliability of the structure. “Indestructible” material for radio-controlled aircraft is considered koroplast, which can be found on many winged representatives of the Combustion engine class.
Installation of radio-controlled aircraft “stuffing”.
We continue to figure out how to assemble a radio-controlled model of the aircraft. Next in line – the installation of electronics and other elements that are hiding under the fuselage.
Receiver. Be sure to install behind the batteries (maximum – above them), not otherwise. Unless you want the massive battery to crush the receiver by its weight during a collision or accident. Make sure there is a gap between the fuselage edge and the receiver body. Vibrations produced by the motor and transmitted to the model body can negatively affect the efficiency of the receiver. It is better to protect yourself immediately. Some modelers may put a foam tube (you can use a paint roller coat) on the receiver to increase shock absorption. The antenna must not be cut or rolled up. If it does not fit, it is better to stick out of the fuselage.
Small Lifefuck: immediately after you buy the receiver, measure and record the length of the antenna somewhere. If it breaks, it will be easier for you to make a replacement.
Servo-mechanisms (steering machines). They are responsible for steering ailerons, steering heights and steering. There is nothing complicated about it. The spare part originally has special mounting lugs with rubber shock absorbers and brass sleeve. When assembling a radio-controlled aircraft, you only need to fix the self-tapping screws. By analogy with the receiver, the servomachine should not come into contact with the fuselage.
Small Lifefuck: The servo-mechanisms can be glued to the fuselage with a few squares of double-sided foam-based tape (it is important that it is not thinner than 2 mm). This will reduce the vibration in the fuselage.
Onboard battery. It weighs a lot, so the battery should be installed with the center of gravity of the model in mind. Try to position the battery so that it does not damage the other elements of the filling during a nose drop.
Run regulator. This part is very warm, so we recommend a minimum air blowing. This will help maintain an optimal temperature and avoid overheating.
Selecting and installing the motor

The important question you have to decide before making an airplane in radio control is whether to use an electric or an internal combustion engine.
For beginners, we recommend stopping at an electric power plant. It is cheaper, easier to use and requires no adjustment. The choice – collector or no collector option – depends on your personal preferences and available budget.
The option of assembly of an aircraft with an internal combustion engine will suit those who have basic knowledge in modeling or have a good understanding of technology. The use of an internal combustion engine imposes certain obligations on its operation: from running-in to tuning. In addition, such a unit can only carry a large machine.
Control system
You will need a multi-channel transmitter to control your aircraft model. The simplest models are controlled by the two channels, which are most often responsible for height and aileron steering. A little more solid and interesting are the three-channel controls, where you control the steering wheel for altitude, turns and throttle simultaneously. This is the easiest system that can be used to acquire basic flying skills.
If you are serious, pay attention to radio transmitters with four or more channels. Only with them you will get full control over the model.
Kits for aircraft assembly
A good alternative for modelers who puzzle over how to make an aircraft on radio control are a variety of “whales” or KIT kits.
Typically, these kits include everything you need to build an aircraft: from balsa wood strips, plastic slats and fittings to finished electronics and mechanics components. The control system, battery, and engine are available as an option. All you need to do is install, fix and configure everything. This way you will fully satisfy your desire to assemble the model from start to finish, and you will be rewarded with the long-awaited launch of your own aircraft into the sky. And nothing will make you leave this idea halfway to the finish line.